
French Ravioli Recipe, or Ravioles du Dauphiné
- Apr 11, 2024
- 4 min read
A few months ago, New York restaurant Café Chelsea put ravioles du Dauphiné on the menu and, predictably for a niche pasta shape, it went viral on TikTok. By the time the clips of individual sheets of butter-drenched ravioli squares had saturated social media and seeped into my feed, my partner's mother had thoughtfully gifted me with a vintage ravioli mould. Whipping up a French ravioli recipe seemed the obvious next step.
While this French ravioli recipe is a deviation from the traditional recipe served at Café Chelsea, I'm confident that it is comparably delicious. If you don't have a vintage ravioli mould, you can make regular ravioli with biscuit moulds or even a drinking glass with a relatively small opening. I have tried both with enormous success.

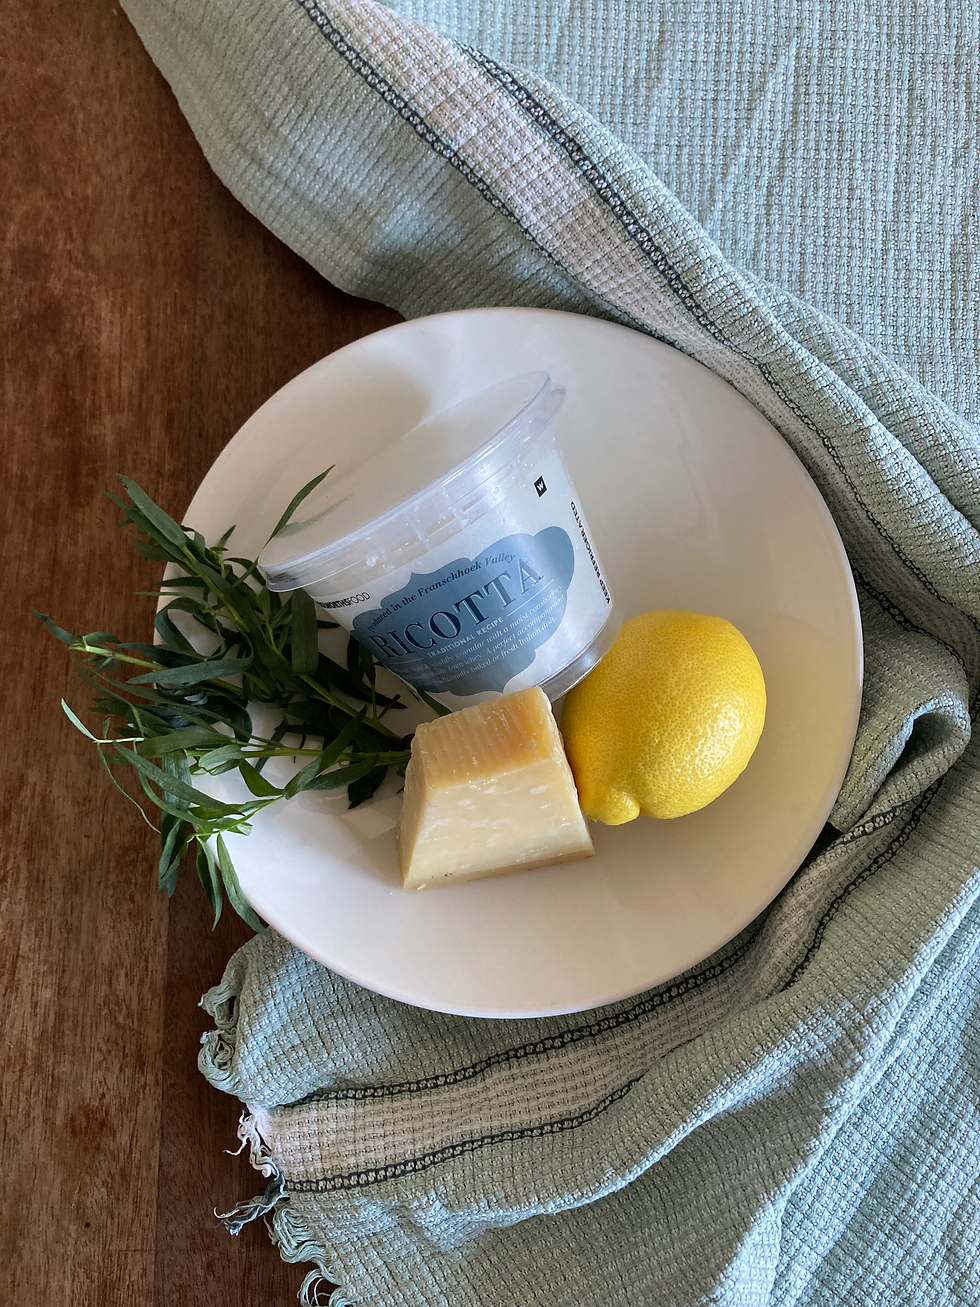
What you'll need from the shops (and your kitchen):
At least two sheets of handmade pasta — now is a good time to revisit our recipe for how to make handmade pasta from scratch
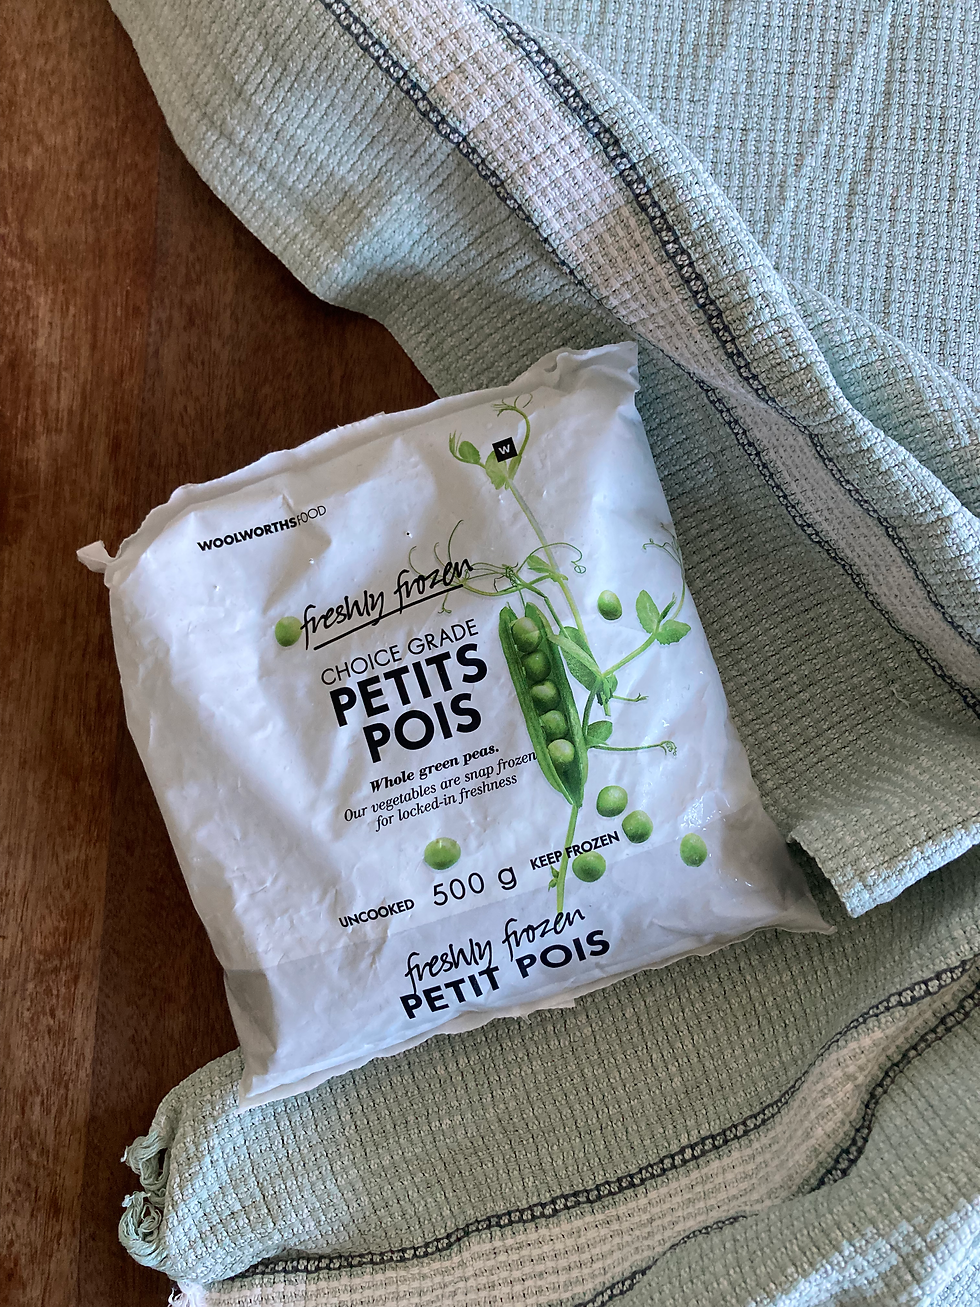
Frozen peas
Ricotta
A lemon
Parmesan
Butter
Salt
Herb of choice — I used tarragon, but sage or even mint would do nicely as well
How to make French ravioli like they do at Café Chelsea
Step One: Make pasta from scratch
We've been over this. You know where to go.
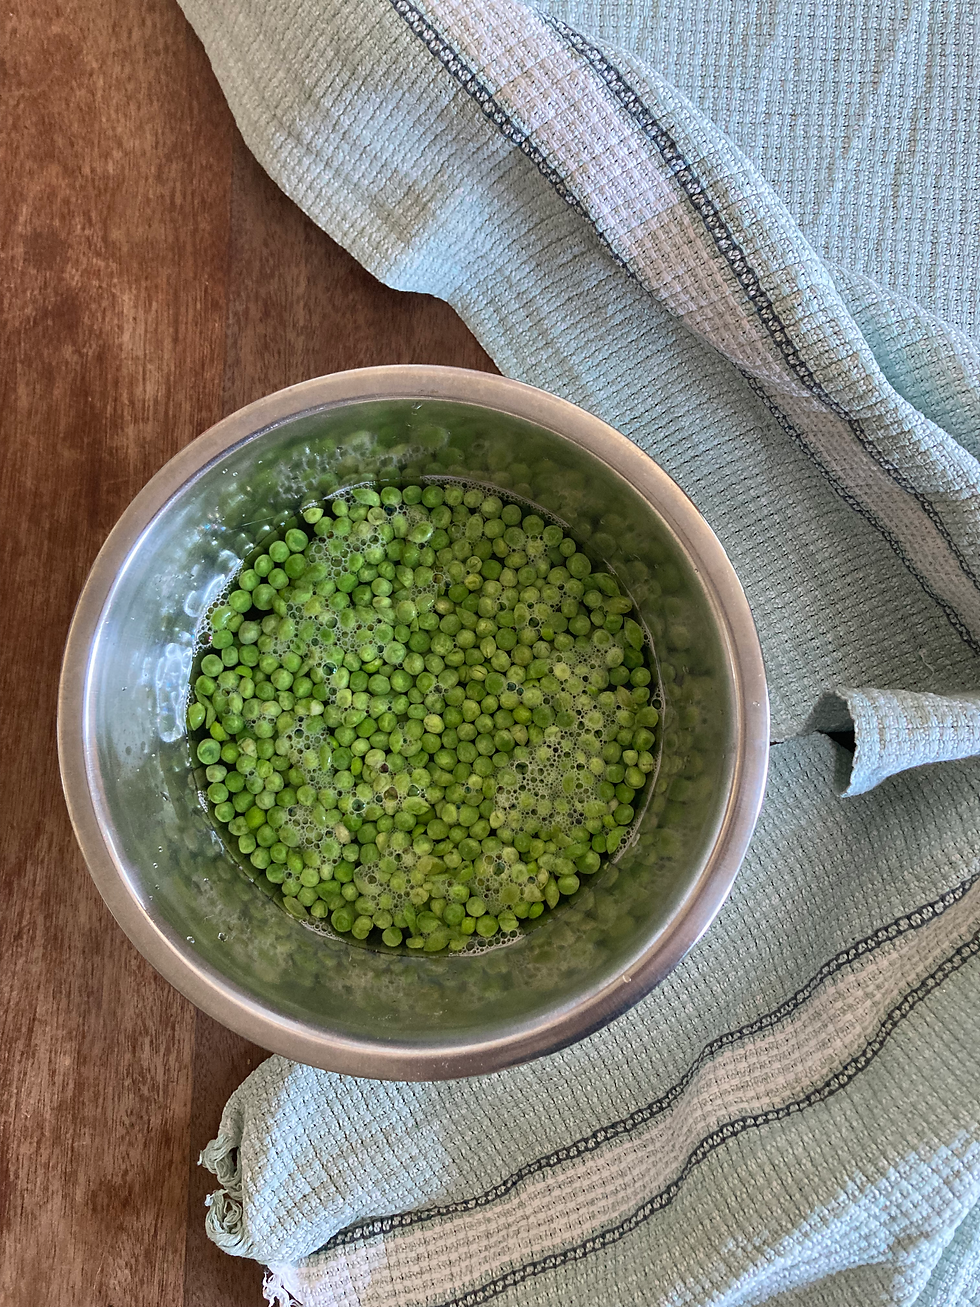
Step Two: Blanch your peas
The first step to making the filling is blanching the frozen peas to thaw them and preserve their green colour. Simply dump about 250g of frozen peas into a bowl with boiling water and wait for them to soften.
Step Three: Blend your filling
Once the peas are soft, drain them and chuck them into a blender along with a tub of ricotta, a squeeze of lemon juice, lemon zest, and a 4cm(ish) chunk of parmesan. Throw in some salt, too.

You may need to add some water to the mix for it to blend smoothly. You're aiming for a consistency that is runnier than a paste, but not watery. Remember to taste and adjust seasoning as needed!

Next, pour the filling into a Ziploc bag or a piping bag and stick it in the fridge while you shape your pasta.
Step Four: Press guidelines into the pasta
If you don't have a vintage ravioli mould like I do (boo!), just use cookie cutters or a drinking glass to press guidelines into the first pasta sheet and again to cut the shapes out from the layered pasta sheets. You can also buy a new ravioli mould online.

Whatever it is that you're using to shape the pasta, the first step is to prepare equivalent halves of a pasta sheet and your workspace with a generous dusting of flour.

Laying the first pasta sheet flat on the workspace, press your mould into the surface of the pasta as many times as it will fit until the shape of the mould appears. Rubbing flour over the surface should bring the guidelines into relief.
You shouldn't be pressing so hard as to cut through the pasta sheet. You are simply establishing a guide for your filling. Remember to keep a border trim of pasta around the shapes, especially if you are using cookie cutters or similar. This can help prevent misalignment later on.

If the bottom of my ravioli tin is to be trusted, one of these Italian-made moulds cost 50c back in the day.
Step Five: Fill your pasta
Using the guidelines you just pressed into your first pasta sheet, you're going to pipe a little nest of filling into the centre of each shape. I accomplished this by cutting a very small triangle off the corner of a Ziploc bag, so this is well within reach even without the proper equipment.

Next, carefully drape the second sheet of pasta over the first. Make sure they're aligned as closely as possible from end to end. Then, take your mould and press into the ravioli again in the same place you did the first time — you don't need surgical accuracy, but try to avoid squishing the filling.
If you're using a ravioli mould, you're just stamping the shape into the pasta again. If you're using a cookie cutter or similar, twist the mould so that the rounded raviolo is cut free from the pasta sheets.

If you used a ravioli mould, trim the excess pasta from the borders and cut the ravioli into sheets that will fit into a pot of boiling water. I cut mine into two sheets of twelve ravioli.

Step Six: Prepare a finishing sauce
Get a pot of salted water on the boil for the pasta. Meanwhile, prepare to brown some butter to finish the French ravioli with.

Boil each ravioli sheet for two minutes. When the butter looks like this, it's ready for plating:

Step Seven: Plate
First, ladle the cooked French ravioli sheet onto your dish. Then, garnish with picked tarragon or sage leaves. Finally, pour over the brown butter (taking care to crisp the herbs) and finish with generous helpings of parmesan, lemon zest, and flaky salt.
It may look complex and Michelin star-worthy but, if you're comfortable making pasta from scratch and you have a ravioli mould, it's a relatively easy way to produce an impressive meal. The little sheets store beautifully in the freezer, making them ideal for batch cooking a fancy meal in advance.

Eat your heart out, Café Chelsea.
Love,
Team Life & Style


Comments